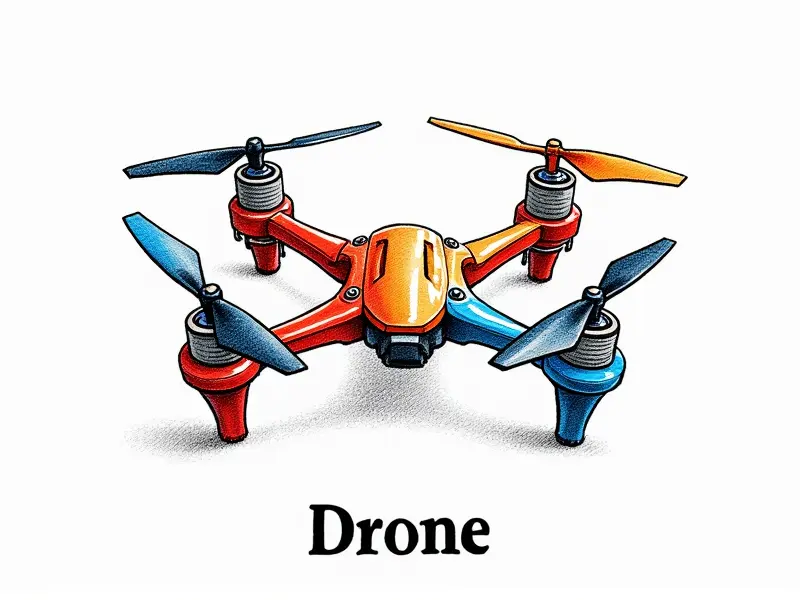
How to fix a crashed FPV drone?

How to Fix a Crashed FPV Drone
Crashing your FPV (First Person View) drone can be frustrating and costly. However, with the right tools and knowledge, you can often repair your drone and get back into the air quickly. This article will guide you through assessing damage, quick fixes, common issues, essential tools, troubleshooting tips, DIY repairs, a post-crash checklist, and steps to rebuild your crashed FPV drone.
How to Assess and Repair a Crashed FPV Drone
The first step after a crash is to assess the damage. Take a moment to calm down and carefully examine each part of your drone:
- Fuselage: Check for cracks, dents, or broken components.
- Motors: Look for bent propellers, damaged motor mounts, or burned-out motors.
- Battery: Inspect the battery connector and ensure there's no damage to the battery itself.
- Flight Controller: Verify that all wires are connected properly and check for any signs of water damage or overheating.
Once you've identified the issues, prioritize repairs based on critical components. Start with the flight controller and motors before moving to less essential parts like the camera or FPV transmitter.
Quick Fixes to Get Your FPV Drone Flying Again
Sometimes, a few quick fixes can get your drone back in action:
- Loose Connections: Reconnect any loose wires and ensure all components are securely mounted.
- Battery Issues: Replace the battery if it's swollen or damaged. Ensure the connector is clean and free of corrosion.
- Motor Problems: If a motor is burned out, replace it immediately to prevent further damage.
These quick fixes can often get your drone flying again without requiring extensive repairs.
Recover from Crash: Repair Tips for FPV Drones
After assessing the damage, focus on repairing critical components:
- Fuselage Repairs: Use epoxy or carbon fiber tape to reinforce cracked areas. Ensure the repairs are strong enough to withstand future crashes.
- Motor Mounts: Replace bent motor mounts with new ones if necessary. Securely attach all motors and propellers.
- Flight Controller: If the flight controller is damaged, consider replacing it or sending it for professional repair.
By addressing these key areas, you can significantly improve your drone's chances of flying again.
Common Issues & Solutions After an FPV Drone Crash
Crashes often result in specific issues:
- Battery Damage: Replace the battery if it shows signs of swelling or corrosion. Clean and inspect all battery connections.
- Motor Failure: Burned-out motors need immediate replacement to prevent further damage to the ESC (Electronic Speed Controller).
- Fuselage Cracks: Use epoxy or carbon fiber tape to repair cracks, ensuring structural integrity.
Addressing these common issues promptly can help you get back in the air faster and more safely.
Revive Your Downed FPV Drone with These Simple Steps
To revive your crashed drone:
- Assess Damage: Carefully examine each component for damage.
- Quick Fixes: Address loose connections, battery issues, and motor problems immediately.
- Repair Critical Components: Focus on repairing the flight controller, motors, and fuselage first.
By following these steps, you can often revive your downed drone without needing to replace it entirely.
Essential Tools for Rebuilding a Crashed FPV Drone
To effectively repair your crashed drone, gather the following tools:
- Soldering Iron: For repairing loose connections and replacing components.
- Epoxy or Carbon Fiber Tape: To reinforce cracked fuselage parts.
- Multimeter: To test electrical components like motors, ESCs, and batteries.
- New Motors & Propellers: Replace any damaged or burned-out motors.
Having these tools on hand will make the repair process much smoother and more efficient.
Troubleshooting Tips for Repairing Damaged FPV Drones
Troubleshoot your drone's issues methodically:
- Check Connections: Ensure all wires are securely connected to the flight controller, ESCs, and other components.
- Test Motors: Use a multimeter to check motor resistance and ensure they're functioning correctly.
- Inspect Flight Controller: Verify that the flight controller is not damaged and all settings are correct.
Troubleshooting can help you identify and fix issues before attempting more extensive repairs.
D-I-Y Fixes for Your Broken FPV Racing Drone
DIY fixes can be both cost-effective and rewarding:
- Repair Cracks with Epoxy: Apply epoxy to cracked areas and reinforce them with carbon fiber tape.
- Replace Motors & ESCs: Swap out damaged motors and ESCs for new ones to restore functionality.
- Reprogram Flight Controller: If the flight controller is malfunctioning, reflash it with a fresh firmware update.
By tackling repairs yourself, you can save money and gain valuable experience in drone maintenance.
Post-Crash Checklist for FPV Drones
Use this checklist to ensure thorough repair:
- Fuselage Inspection: Look for cracks or damage that could compromise structural integrity.
- Motor Check: Test each motor and replace any that are burned out or damaged. Battery Assessment: Inspect the battery for swelling, corrosion, or other signs of damage.
This checklist helps you systematically address all potential issues after a crash.
Conclusion
Repairing your crashed FPV drone can be challenging but rewarding. By following these steps and using the right tools, you can often restore your drone to its former glory. Remember to prioritize safety and thoroughness in your repairs to ensure reliable performance moving forward.
Happy flying!

