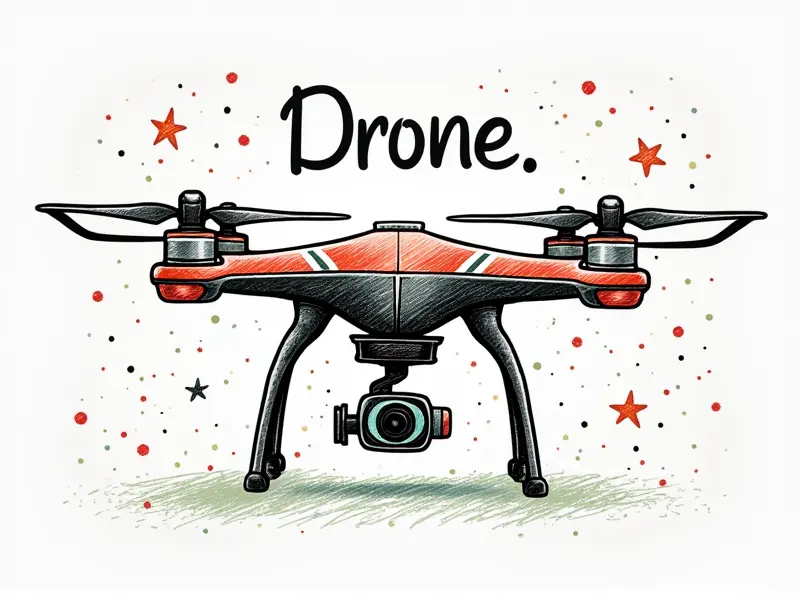
DIY repair of drones’ arms?

DIY Guide to Repairing Drone Arms
If you're a drone enthusiast, chances are you've encountered the occasional arm breakage. Whether it's due to rough landings or accidental collisions, repairing your drone arms can save you money and extend the life of your device. This guide will walk you through the process of DIY repair for your drone arms.
How to Easily Replace Drone Arms
Replacing a broken arm on your drone is straightforward if you follow these steps:
- Identify the Damage: Determine whether the damage is minor or major. Minor cracks can often be repaired with epoxy, while severe breaks may require replacement parts.
- Gather Necessary Tools and Parts: You’ll need a screwdriver, spare arm parts, epoxy for small repairs, and possibly a heat gun if you’re replacing plastic components.
- Disassemble the Drone: Carefully remove any screws holding the damaged arm in place. Be cautious not to damage other components during this process.
- Repair or Replace: If repairing with epoxy, ensure it is completely dry before reassembling. For replacement parts, align them correctly and secure them tightly.
Quick Fixes for Broken Drone Arms
Sometimes a quick fix can save the day. Here are some immediate solutions to stabilize your drone:
- Epoxy Repair: Use high-strength epoxy to fill cracks and reinforce weak areas.
- Tape It Up: In an emergency, use strong tape like Gorilla Tape to hold broken pieces together temporarily.
Handy Guide: Repairing Drone Frame Arms
The frame arms are crucial for stability and performance. Here’s how you can repair them effectively:
- Inspect the Damage: Look for any cracks or breaks that need immediate attention.
- Select Appropriate Materials: Choose materials like carbon fiber, plastic, or aluminum based on the original construction of your drone.
- Follow Manufacturer Instructions: If available, refer to the manufacturer's guidelines for specific repair procedures.
Save Money by Fixing Your Drone Arms
Repairing instead of replacing can save you a significant amount of money. Here’s how:
- Evaluate Costs: Compare the cost of repairing versus buying new parts or a whole new drone.
- Invest in Quality Tools and Materials: Good quality epoxy, screws, and replacement arms can last longer than cheaper alternatives.
Simple Guide to Replacing Drone Frames
If your frame is beyond repair, replacing it entirely might be necessary. Here’s how:
- Purchase Replacement Parts: Find compatible parts that fit your specific drone model.
- Disassemble and Remove Old Frame: Take out the old frame carefully to avoid damaging other components.
- Install New Frame: Align and secure new frame pieces with screws or adhesive as needed.
Easy Steps to Repair Drone Parts
Maintaining your drone’s performance requires regular maintenance. Here are some easy steps:
- Clean Regularly: Use compressed air and a soft cloth to clean debris from motors, propellers, and frames.
- Lubricate Moving Parts: Apply light lubricant to hinges and joints for smooth operation.
DIY Method to Fix Drone Wing Damage
If your drone’s wings are damaged, here’s how you can fix them:
- Identify the Issue: Determine if it's a crack or a break. Minor cracks may be repairable with epoxy.
- Prepare Repair Kit: Gather epoxy, sandpaper, and any replacement wing parts you might need.
Repair Your Drone Arms Yourself
By following these steps, you can confidently fix your drone arms on your own:
- Assess the Damage: Check for cracks, breaks, and any other issues.
- Gather Necessary Tools: Ensure you have all required tools like screwdrivers, epoxy, and replacement parts.
Quick Fixes for Damaged Drone Arms
Here are some quick fixes to get your drone flying again:
- Epoxy Repair: For minor cracks, apply epoxy and allow it to dry completely before use.
- Tape It Up: Use strong tape to hold broken pieces together temporarily until you can perform a more permanent fix.
Easily Fix and Replace Drone Arms
Replacing or fixing your drone arms is easier than you think. Follow these steps:
- Disassemble the Arm: Remove screws and other fasteners holding the arm in place.
- Repair or Replace: Use epoxy for small repairs, or replace damaged parts with new ones if necessary.
Conclusion
Maintaining your drone’s performance through DIY repair of arms and other components can save you money and extend the life of your device. By following these guides, you’ll be able to handle minor repairs confidently and keep your drone in top condition for years to come.

