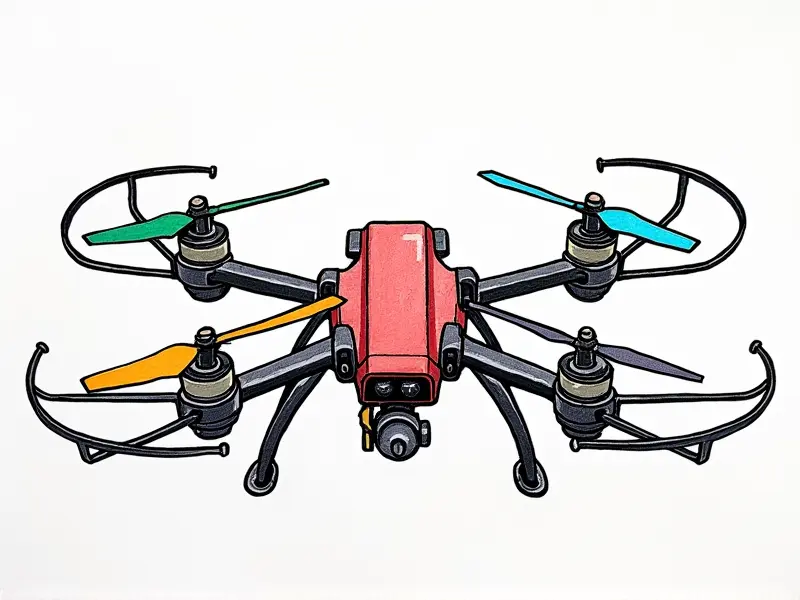
How to repair a damaged drone?

Fixing Scratched Drone Propellers
Scratches on drone propellers can significantly impact their performance and safety. To address this issue, start by cleaning the propeller blades thoroughly with a soft cloth or brush to remove any debris or dirt. If the scratch is minor, you may be able to smooth it out using fine-grit sandpaper (600 grit or higher). Sand in the direction of the blade's rotation to avoid further damage. Once sanded, polish the area with a metal polish or wax to restore its finish and performance.
Repair Cracked Drone Frame Easily
A cracked drone frame can compromise structural integrity and stability during flight. To repair this issue, first assess the extent of the crack. For minor cracks, you can use epoxy resin designed for plastic repairs. Apply a thin layer over the crack and allow it to cure according to the manufacturer's instructions. For larger or more severe cracks, consider replacing the damaged frame section with a new one from your drone’s manufacturer.
Replace Broken Drone Camera Housing
A broken camera housing can affect both the quality of footage and the safety of your drone during flights. To replace it, start by identifying the specific model number of your drone's camera housing to ensure you purchase an exact replacement part. Carefully remove any screws or clips holding the old housing in place using a screwdriver or pliers. Once removed, install the new housing according to the manufacturer’s instructions, ensuring all connections are secure.
Reattaching Detached Drone Landing Gear
If your drone's landing gear becomes detached during flight or transport, it can lead to significant damage upon landing. To reattach it, first inspect the area where the gear attaches for any loose screws or broken parts. Use a screwdriver to tighten any loose connections and replace any damaged components with new ones from your manufacturer’s spare parts list. Ensure all gears are properly aligned before attempting flight again.
Resolving Drone Antenna Breakage Problems
A broken antenna can severely impact signal strength and range, making it difficult for the drone to maintain a stable connection with its controller. To fix this issue, first assess whether the break is minor or major. For minor breaks, you may be able to use heat shrink tubing to cover and protect the exposed wires. If the damage is extensive, replace the entire antenna assembly using a compatible replacement part from your manufacturer.
Quick Guide to Drone Battery Fixes
Battery issues are common in drones due to frequent charging cycles and usage patterns. To address battery problems, start by checking for any visible signs of swelling or leakage, which could indicate internal damage. If the battery appears undamaged but has low capacity, try performing a full discharge and recharge cycle several times to recalibrate its charge level readings. For persistent issues, replace the battery with a new one from your drone’s manufacturer.
Easy Steps to Replace Camera Lenses
A damaged or scratched camera lens can significantly degrade image quality. To replace it, first identify the specific model number of your drone's camera lens and purchase an exact replacement part from your manufacturer. Carefully remove any screws or clips holding the old lens in place using a screwdriver or pliers. Once removed, install the new lens according to the manufacturer’s instructions, ensuring all connections are secure.
Fixing Jammed Drone Motor Issues
Jammed motors can prevent your drone from taking off or maneuvering properly. To fix this issue, first turn off and unplug the drone to ensure safety. Use a screwdriver to remove any screws holding the motor assembly in place and carefully inspect for any debris or obstructions causing the jam. Clean out any dirt or foreign objects using compressed air or a soft brush. If the motor itself is damaged, replace it with an exact replacement part from your manufacturer.
Repairing Controller Buttons and Joysticks
Damaged buttons or joysticks on your drone controller can make controlling your aircraft difficult or impossible. To repair these components, start by identifying which button or joystick needs fixing based on symptoms such as unresponsiveness or erratic behavior. Use a screwdriver to remove any screws holding the affected component in place and carefully clean out any debris or dirt using compressed air or a soft brush. If cleaning does not resolve the issue, replace the damaged part with an exact replacement from your manufacturer.
Fixing a Cracked Drone Frame
This section is redundant as it has already been covered under "Repair Cracked Drone Frame Easily." Instead, let's provide additional tips for maintaining drone structural integrity:
- Inspect Regularly: Check your drone’s frame regularly for any signs of wear or damage.
- Use Protective Cases: Store your drone in a protective case when not in use to prevent accidental drops or impacts.
- Follow Manufacturer Guidelines: Adhere strictly to the manufacturer's guidelines regarding handling and maintenance practices.
Reassembling Disconnected FPV Racing Components
If you experience issues with disconnected components in your FPV racing drone, start by identifying which parts are not properly connected. Use a screwdriver or pliers to carefully reconnect any loose connections. Ensure all wires and cables are securely fastened and free from kinks or twists that could cause interference. Test the reassembled components thoroughly before attempting flight again.
Conclusion
Maintaining your drone’s performance and safety requires regular maintenance and prompt repairs for any damages incurred during use. By following these guidelines, you can extend the lifespan of your drone while ensuring optimal functionality and enjoyment of its features. Remember to always consult official documentation or seek professional assistance when dealing with complex repair tasks.

