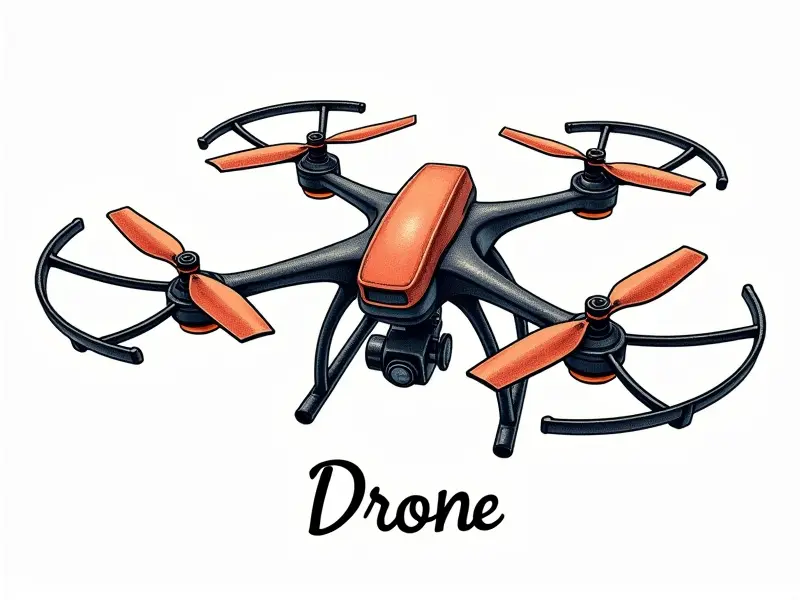
How do I bind my Hubsan drone?

How to Bind Your Hubsan Drone: A Comprehensive Guide
If you're new to flying drones or have recently acquired a Hubsan drone, one of the first steps you'll need to take is binding your remote control to the drone. This process ensures that your drone and controller are properly paired so you can enjoy seamless flight experiences. In this article, we will guide you through the entire process with quick tips, step-by-step instructions, troubleshooting advice, and more.
Quick Tips for Binding Your Hubsan Drone
Before diving into the detailed steps, here are some essential tips to keep in mind:
- Ensure Compatibility: Verify that your remote control is compatible with your specific model of Hubsan drone.
- Battery Levels: Ensure both the drone and controller have sufficient battery power before attempting binding.
- No Interference: Make sure there are no other devices operating on the same frequency nearby to avoid interference.
Simplified Guide: How to Bind a Hubsan
The process of binding your Hubsan drone is straightforward and can be completed in just a few minutes. Follow these simple steps:
- Power on the remote control first.
- Press and hold the bind button on the controller for 3 seconds until you see the LED lights start to flash.
- Turn on your Hubsan drone next.
- The drone should automatically detect the signal from the controller if it's within range. You'll know binding is successful when the LED lights stop flashing and remain steady.
Step-by-Step Binding Process for Hubsan Drones
To ensure you don't miss any crucial steps, follow this detailed guide:
- Prepare Your Equipment: Gather your remote control and the drone.
- Power Up: Turn on both devices. Start with the controller to initiate binding mode.
- BIND Button Activation: On the controller, locate the bind button (usually near the power switch) and press it for 3 seconds until you see flashing LED lights indicating readiness.
- Drone Power-On: Turn on your drone. If your model has a separate bind button, press it now to enter binding mode.
- Confirmation of Binding: The controller and drone should automatically pair once they detect each other's signals. Look for the LED lights to stop flashing and remain steady as an indication that pairing is successful.
Troubleshooting Binding Issues with Hubsan
If you encounter problems during the binding process, try these troubleshooting tips:
- Check Batteries: Ensure both devices have sufficient battery power. Weak batteries can cause pairing issues.
- Clear Frequency Interference: Turn off any other electronic devices that might interfere with the signal between your drone and controller.
- Reset Devices: If binding fails, try resetting both the remote control and drone to their default settings. Refer to your user manual for specific instructions on how to reset each device.
Beginner's Guide to Pairing Hubsan Drones
For first-time users, here’s a quick rundown of what you need:
- Remote Control and Drone: Make sure both are compatible with each other.
- User Manual: Always refer to your drone's user manual for specific instructions tailored to your model.
- Batteries: Have spare batteries on hand in case you need them during the binding process.
Quick Setup: Bind Your Hubsan Drone Now
If you’re eager to get started, follow these fast steps for immediate setup:
- Power On Controller: Turn on your remote control and press the bind button.
- Activate Drone: Power up your drone. It should automatically enter binding mode if it detects a signal from the controller.
- Success Confirmation: Once the LED lights stop flashing, you’re ready to fly!
Master the Art of Binding Hubsan Drones
Becoming proficient in binding your drone is essential for a smooth flying experience. Here’s how to perfect this skill:
- Practice Regularly: Try pairing your drone and controller several times until you feel confident with the process.
- Understand Your Equipment: Familiarize yourself with all features of both devices, including any unique settings or modes that may affect binding.
How to Sync Your Remote with Hubsan Drone
Synchronizing your remote control and drone is crucial for optimal performance. Here’s how:
- Check Compatibility: Ensure both devices are compatible according to the manufacturer's specifications.
- Battery Check: Confirm that both devices have adequate battery levels before attempting synchronization.
- Follow Instructions: Refer to your user manual for specific instructions on how to sync your particular model of Hubsan drone and remote control.
Easy Tips for Pairing Hubsan Drones
To make the process even easier, consider these additional tips:
- Use a Dedicated Channel: If possible, use a dedicated channel on your controller to avoid interference from other devices.
- Clear Signal Path: Ensure there are no obstructions between the drone and controller that could interfere with signal transmission.
Fast and Easy: Bind Your Hubsan in Minutes
With these quick steps, you can bind your Hubsan drone in just a few minutes:
- Prioritize Preparation: Have all necessary components ready before starting.
- Follow Instructions Closely: Refer to the user manual for detailed binding procedures specific to your model.
- Be Patient and Methodical: Take your time during each step to ensure a successful pairing.
Simple Steps to Connect Your Hubsan Drone
To connect your drone efficiently, follow these straightforward steps:
- Power Up Devices: Turn on both the remote control and drone.
- Activate Binding Mode: Press and hold the bind button on the controller until LED lights start flashing.
- Confirm Pairing: Once LED lights stop flashing, your devices are successfully paired.
By following these comprehensive guides, you’ll be able to easily connect and sync your Hubsan drone with its remote control. Happy flying!

